Baikal is a lightweight, free and open-source CalDAV and CardDAV server implementation that allows you to synchronize your address book and appointments with multiple clients such as mobile devices or a desktop application like Thunderbird. It lacks a couple of important features for enterprise use cases, such as address book and calendar sharing between multiple users, but it’s very suitable for a small office or home installations. Since it’s very lightweight and only depending on php and mysql, it’s also quite fast and stable.
0. Prerequisites
Both MySQL and SQLite can be used as database backends for Baikal. For simplicity, I’ll use SQLite in this example. The only other software you’ll need is a webserver with php support, e.g. apache or nginx:
# yum install httpd php php-pdo php-sabre-dav
1. Getting Baikal
Unfortunately, there’s currently no prepackaged rpm package available for Baikal, so you’ll have to download it manually. There are three different versions available: The flat package (suitable for hosts you only have ftp access to), the regular package and bleeding-edge (which will point you to the git repository). The best fit for servers that you have full access to is probably the regular package:
$ wget http://baikal-server.com/get/baikal-regular-0.2.7.tgz
2. Installing Baikal
After extracting the tarball to /var/www/html/ (i.e. the apache document root), fixing the access rights and enabling/starting the webserver, point your browser to http://server/baikal-regular/html/ to start the installation
# cd /var/www/html/
# tar xvfz <path-to-tarball>/baikal-regular-0.2.7.tgz
[...]
# chown -R apache:apache /var/www/html/baikal-regular/
# systemctl enable httpd.service
# systemctl start httpd.service
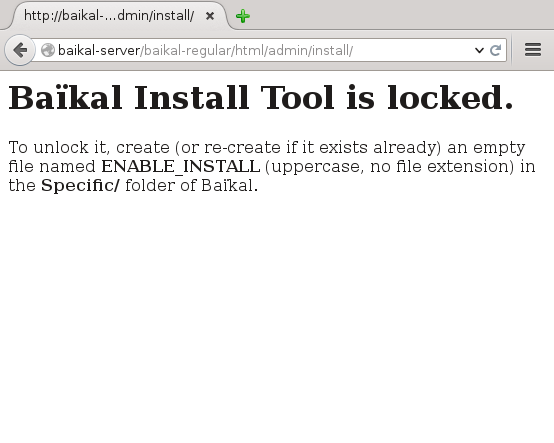
You should see a page similar to this:
3. Running the initialization wizard
After creating the ENABLE_INSTALL file and refreshing your browser,
# touch /var/www/html/baikal-regular/Specific/ENABLE_INSTALL
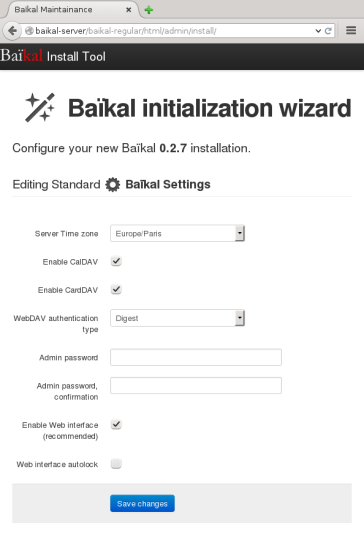
you should see the Baikal initialization wizard:
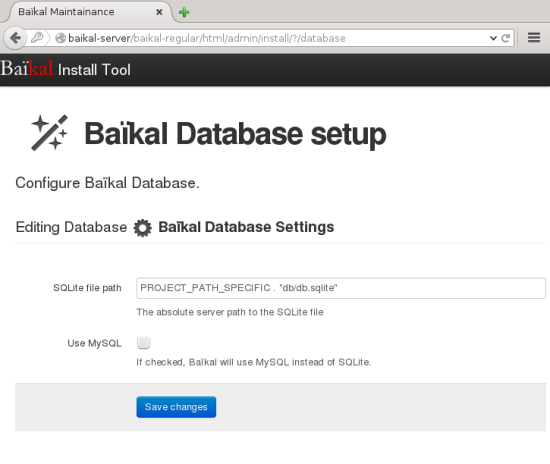
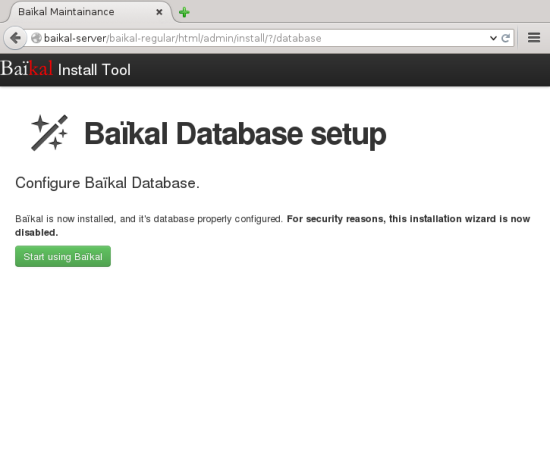
Follow the instructions on the screen:
4. Configuring your client
Baikal is now up and running. You can use the web-interface to create users, additional calendars and address books etc. CalDAV/CardDAV will be reachable through:
http://<baikal-server>/baikal-regular/html/cal.php/calendars/<username>/default/
http://<baikal-server>/baikal-regular/html/baikal/card.php/addressbooks/<username>/default/
5. Optional: Setting up a vhost
You might want to reach your CalDAV/CardDAV service through a subdomain, like dav.mydomain.com. This is usually done with vhosts and Baikal conveniently already comes with a proper vhost file for apache as well as nginx.
It’s good practise to keep the files that belong to a specific subdomain in a folder with the same name. So let’s rename the baikal-regular directory to match our vhost:
# mv /var/www/html/baikal-regular /var/www/dav.mydomain.com
We can then use the supplied vhost configuration file:
# cp -a /var/www/dav.mydomain.com/Specific/virtualhosts/baikal.apache2 \
/etc/httpd/conf.d/dav.mydomain.com.conf
<VirtualHost *:80>

        DocumentRoot /var/www/dav.mydomain.com/html
        ServerName dav.mydomain.com

        RewriteEngine On
        RewriteRule /.well-known/carddav /card.php [R,L]
        RewriteRule /.well-known/caldav /cal.php [R,L]

        <Directory "/var/www/dav.mydomain.com/html">
                Options None
                Options +FollowSymlinks
                AllowOverride All
        </Directory>

</VirtualHost>
After restarting the webserver your CalDAV/CardDAV server will be available through
http://dav.mydomain.com/cal.php/calendars/<username>/default/
http://dav.mydomain.com/card.php/calendars/<username>/default/


